Found something that helps you in getting the answer of How To Make Your Own Custom Mylar Bags, but it seems nothing has been found to inform you in detail. Just stop wondering anymore! Because you find the well-informed article that helps you to create the custom mylar bags on your own. Here, you’ll get all the answers to your every question in a simple way. Let’s get a full article overview in 10 sec below:
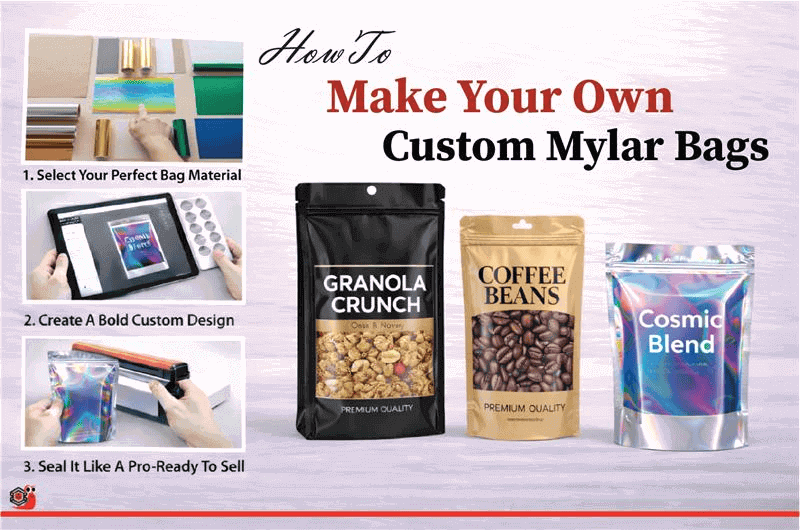
Overall Overview In 10 Sec
Before you begin, take a quick look at the following key steps about the entire blog:
- Essential tools required for making them.
- Ultimate guide to making and personalized pouches.
- DIY mistakes to avoid at home.
- Sustainable packaging options for modern usage
Now, let’s move on to the tools that are required for it.
Basic Tools Required For Custom Mylar Bags
Before going into the details of customization, it’s important to understand the basic tools you’ll need to get started. Having the right setup not only makes the way easier but also ensures better results. The good news is that these items are simple to find and widely doable. Here’s what you’ll need:
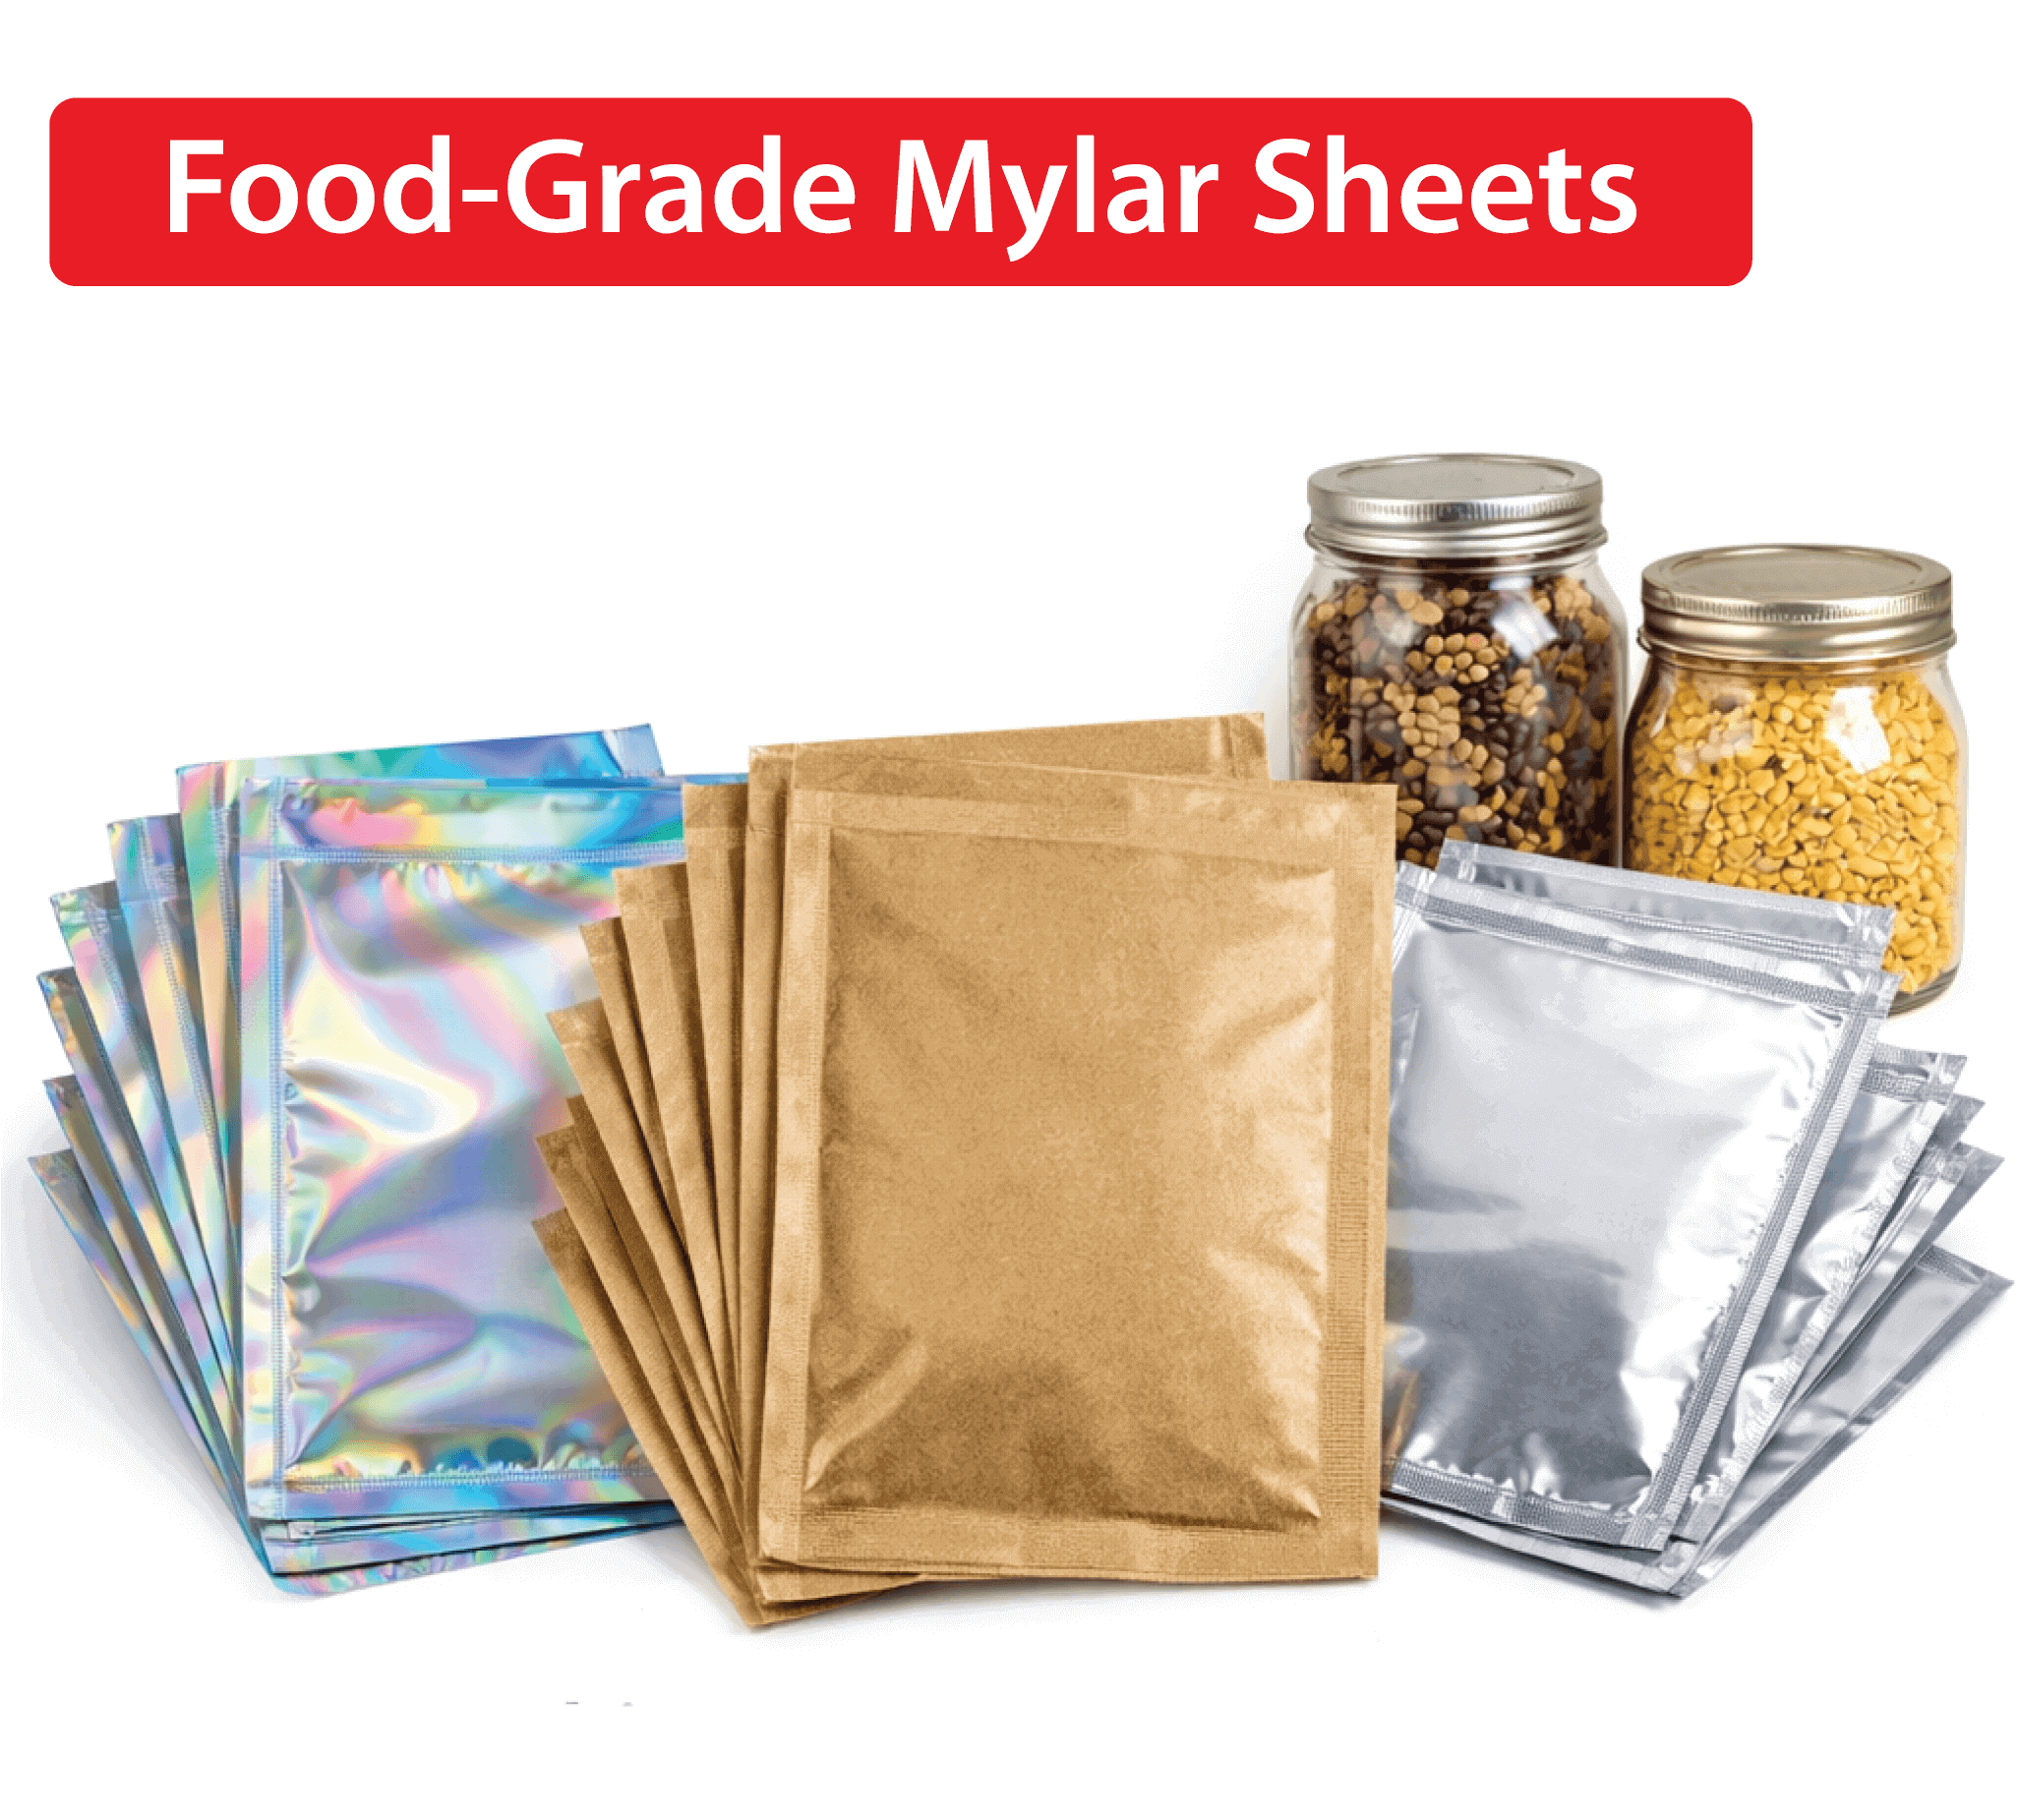
High Quality Mylar Sheets Material
High-quality Mylar sheets are used as the base material for making packaging bags! If you plan to store edible products, it is important to select food-grade Mylar sheets. These pouches can be designed in various packaging styles, such as foil packaging, durable packaging, and holographic packaging. When made from quality mylar sheets, packaging becomes more attractive, and reliable for many types of products. Also, there are many different mylar sheets types like holographic, kraft, transparent, etc. All of them contain different advantages here. Mylar bags are designed in a more attractive way when using Custom Holographic Mylar Bags. It’s colorful layer can make the pouch to looking luxury.
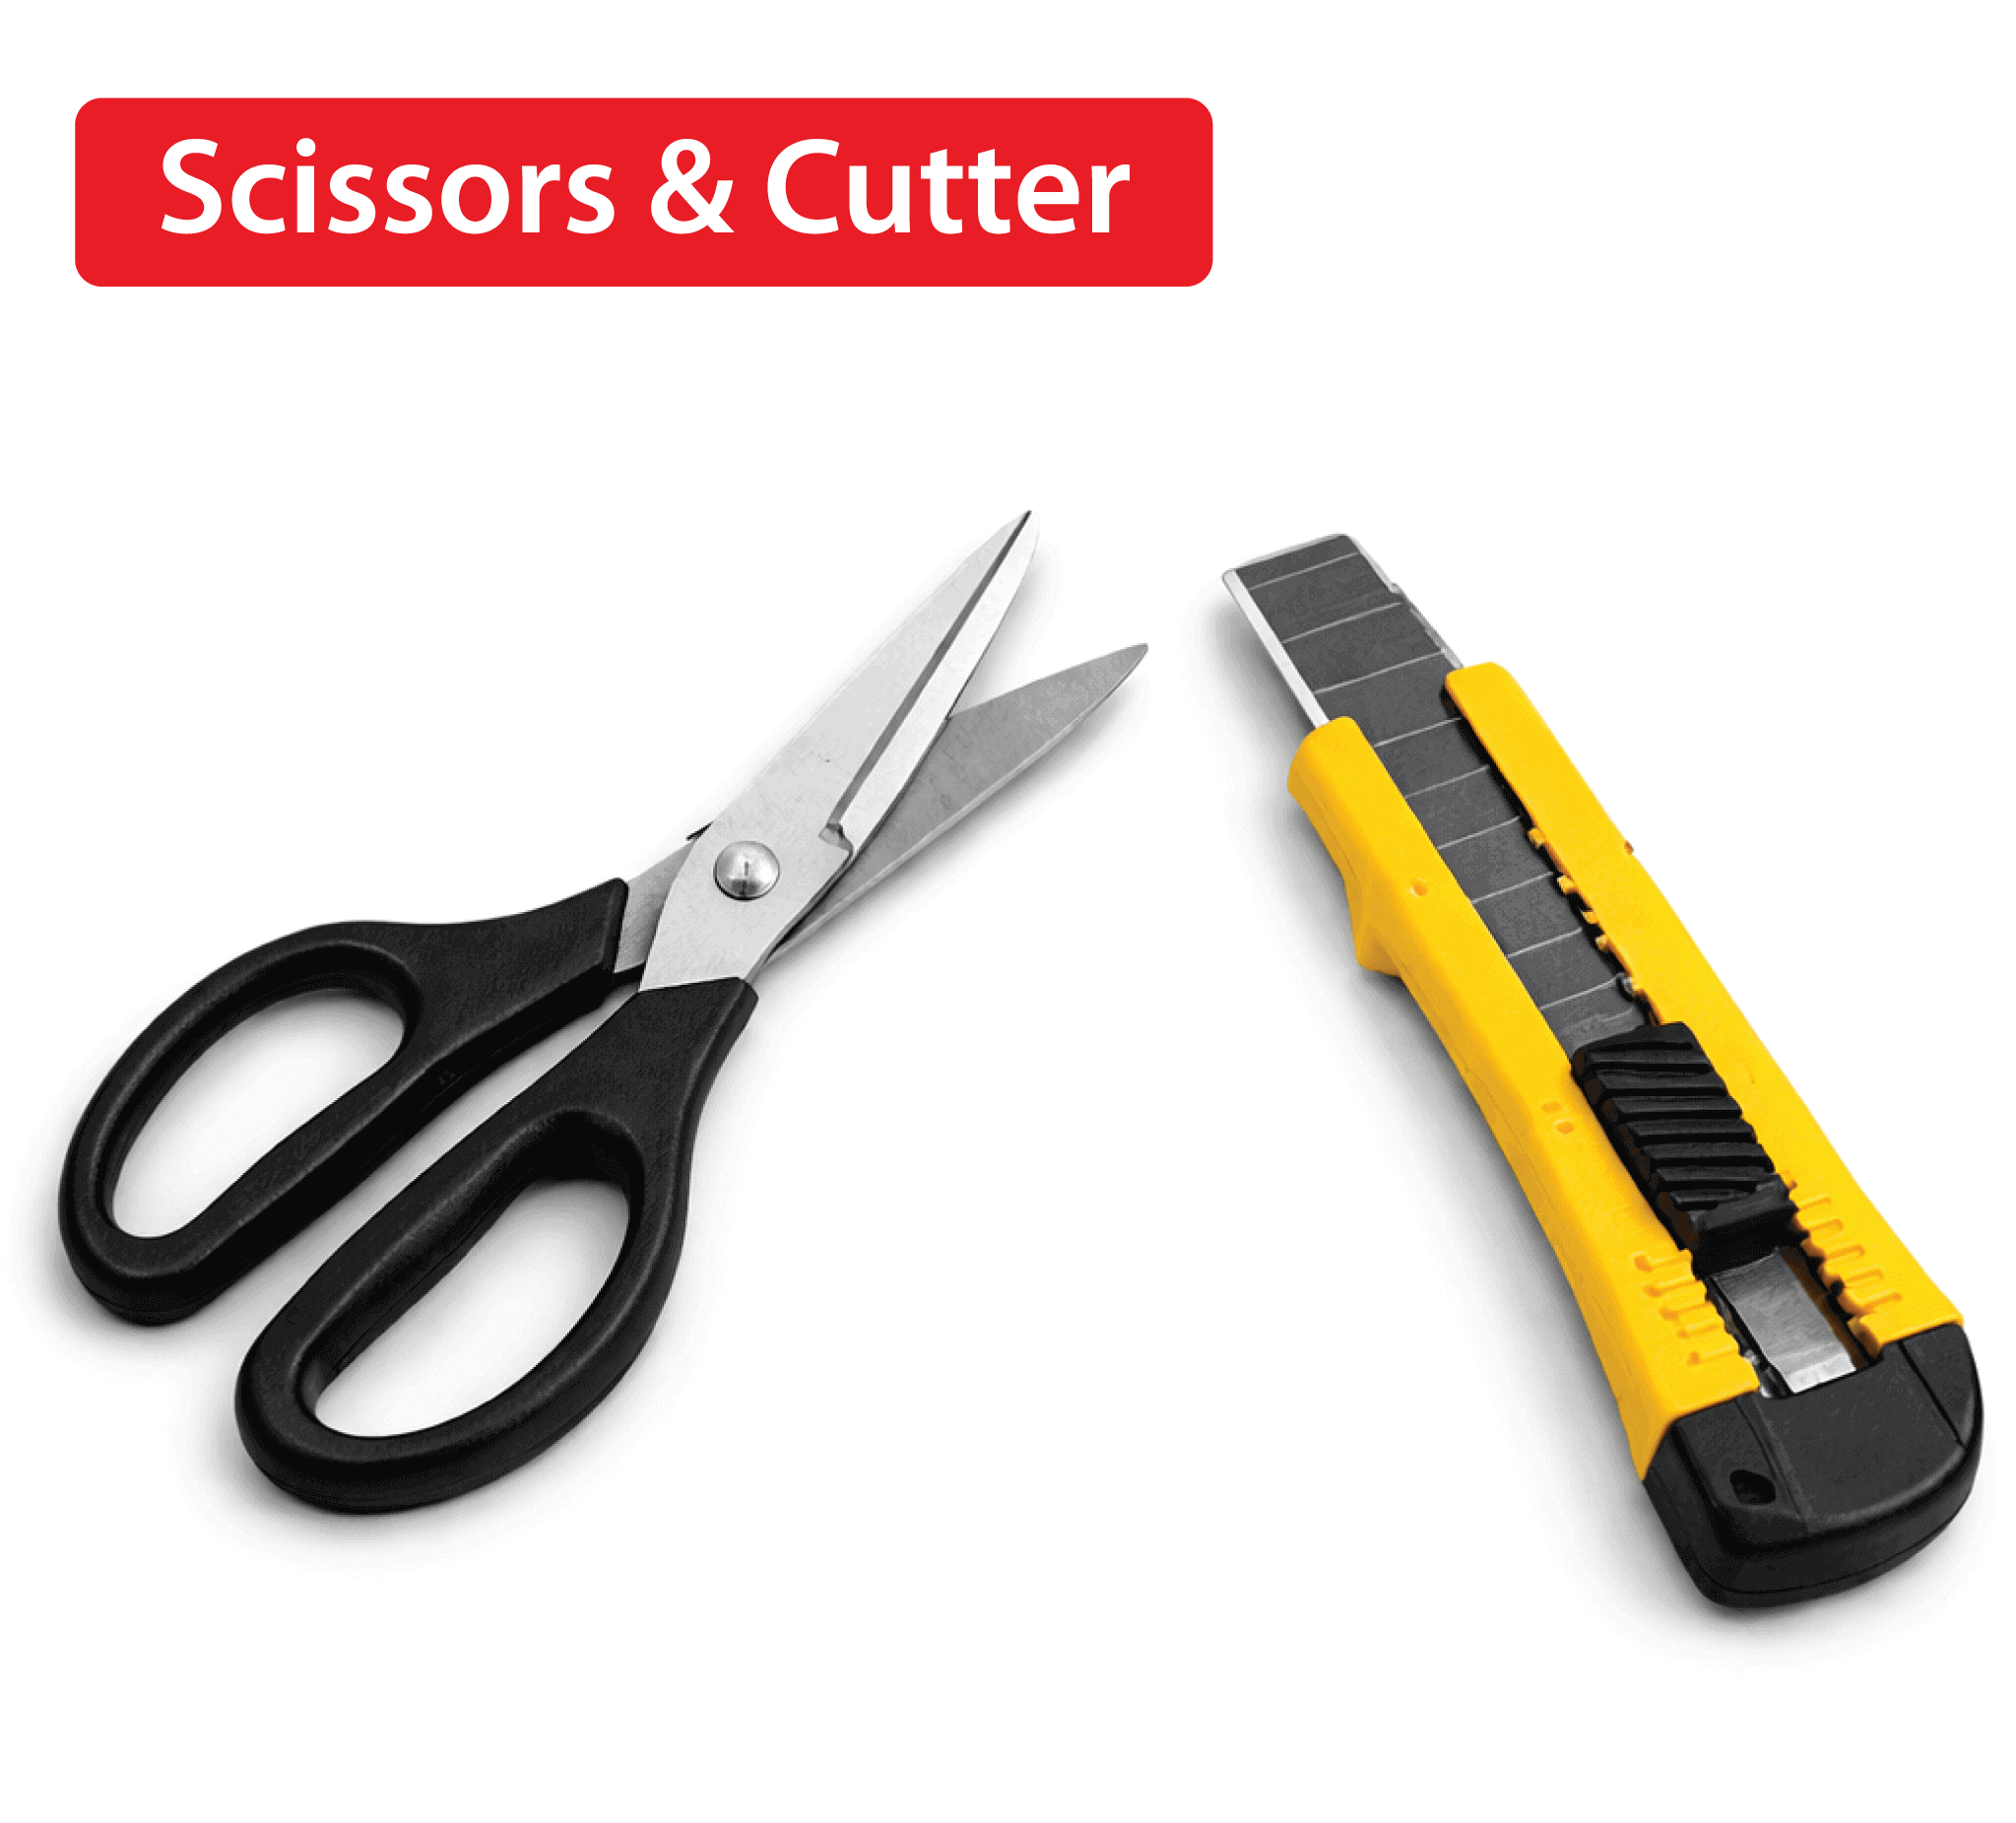
Scissors or a Cutter For Accurate Cutting
To cut the Mylar sheets into the required size according to your needs. Use scissors for small and thin sheets, and a box cutter for thicker material, as well as straight cuts. Measure first, mark your size, then cut slowly on a flat surface for clean edges and a neat finish.
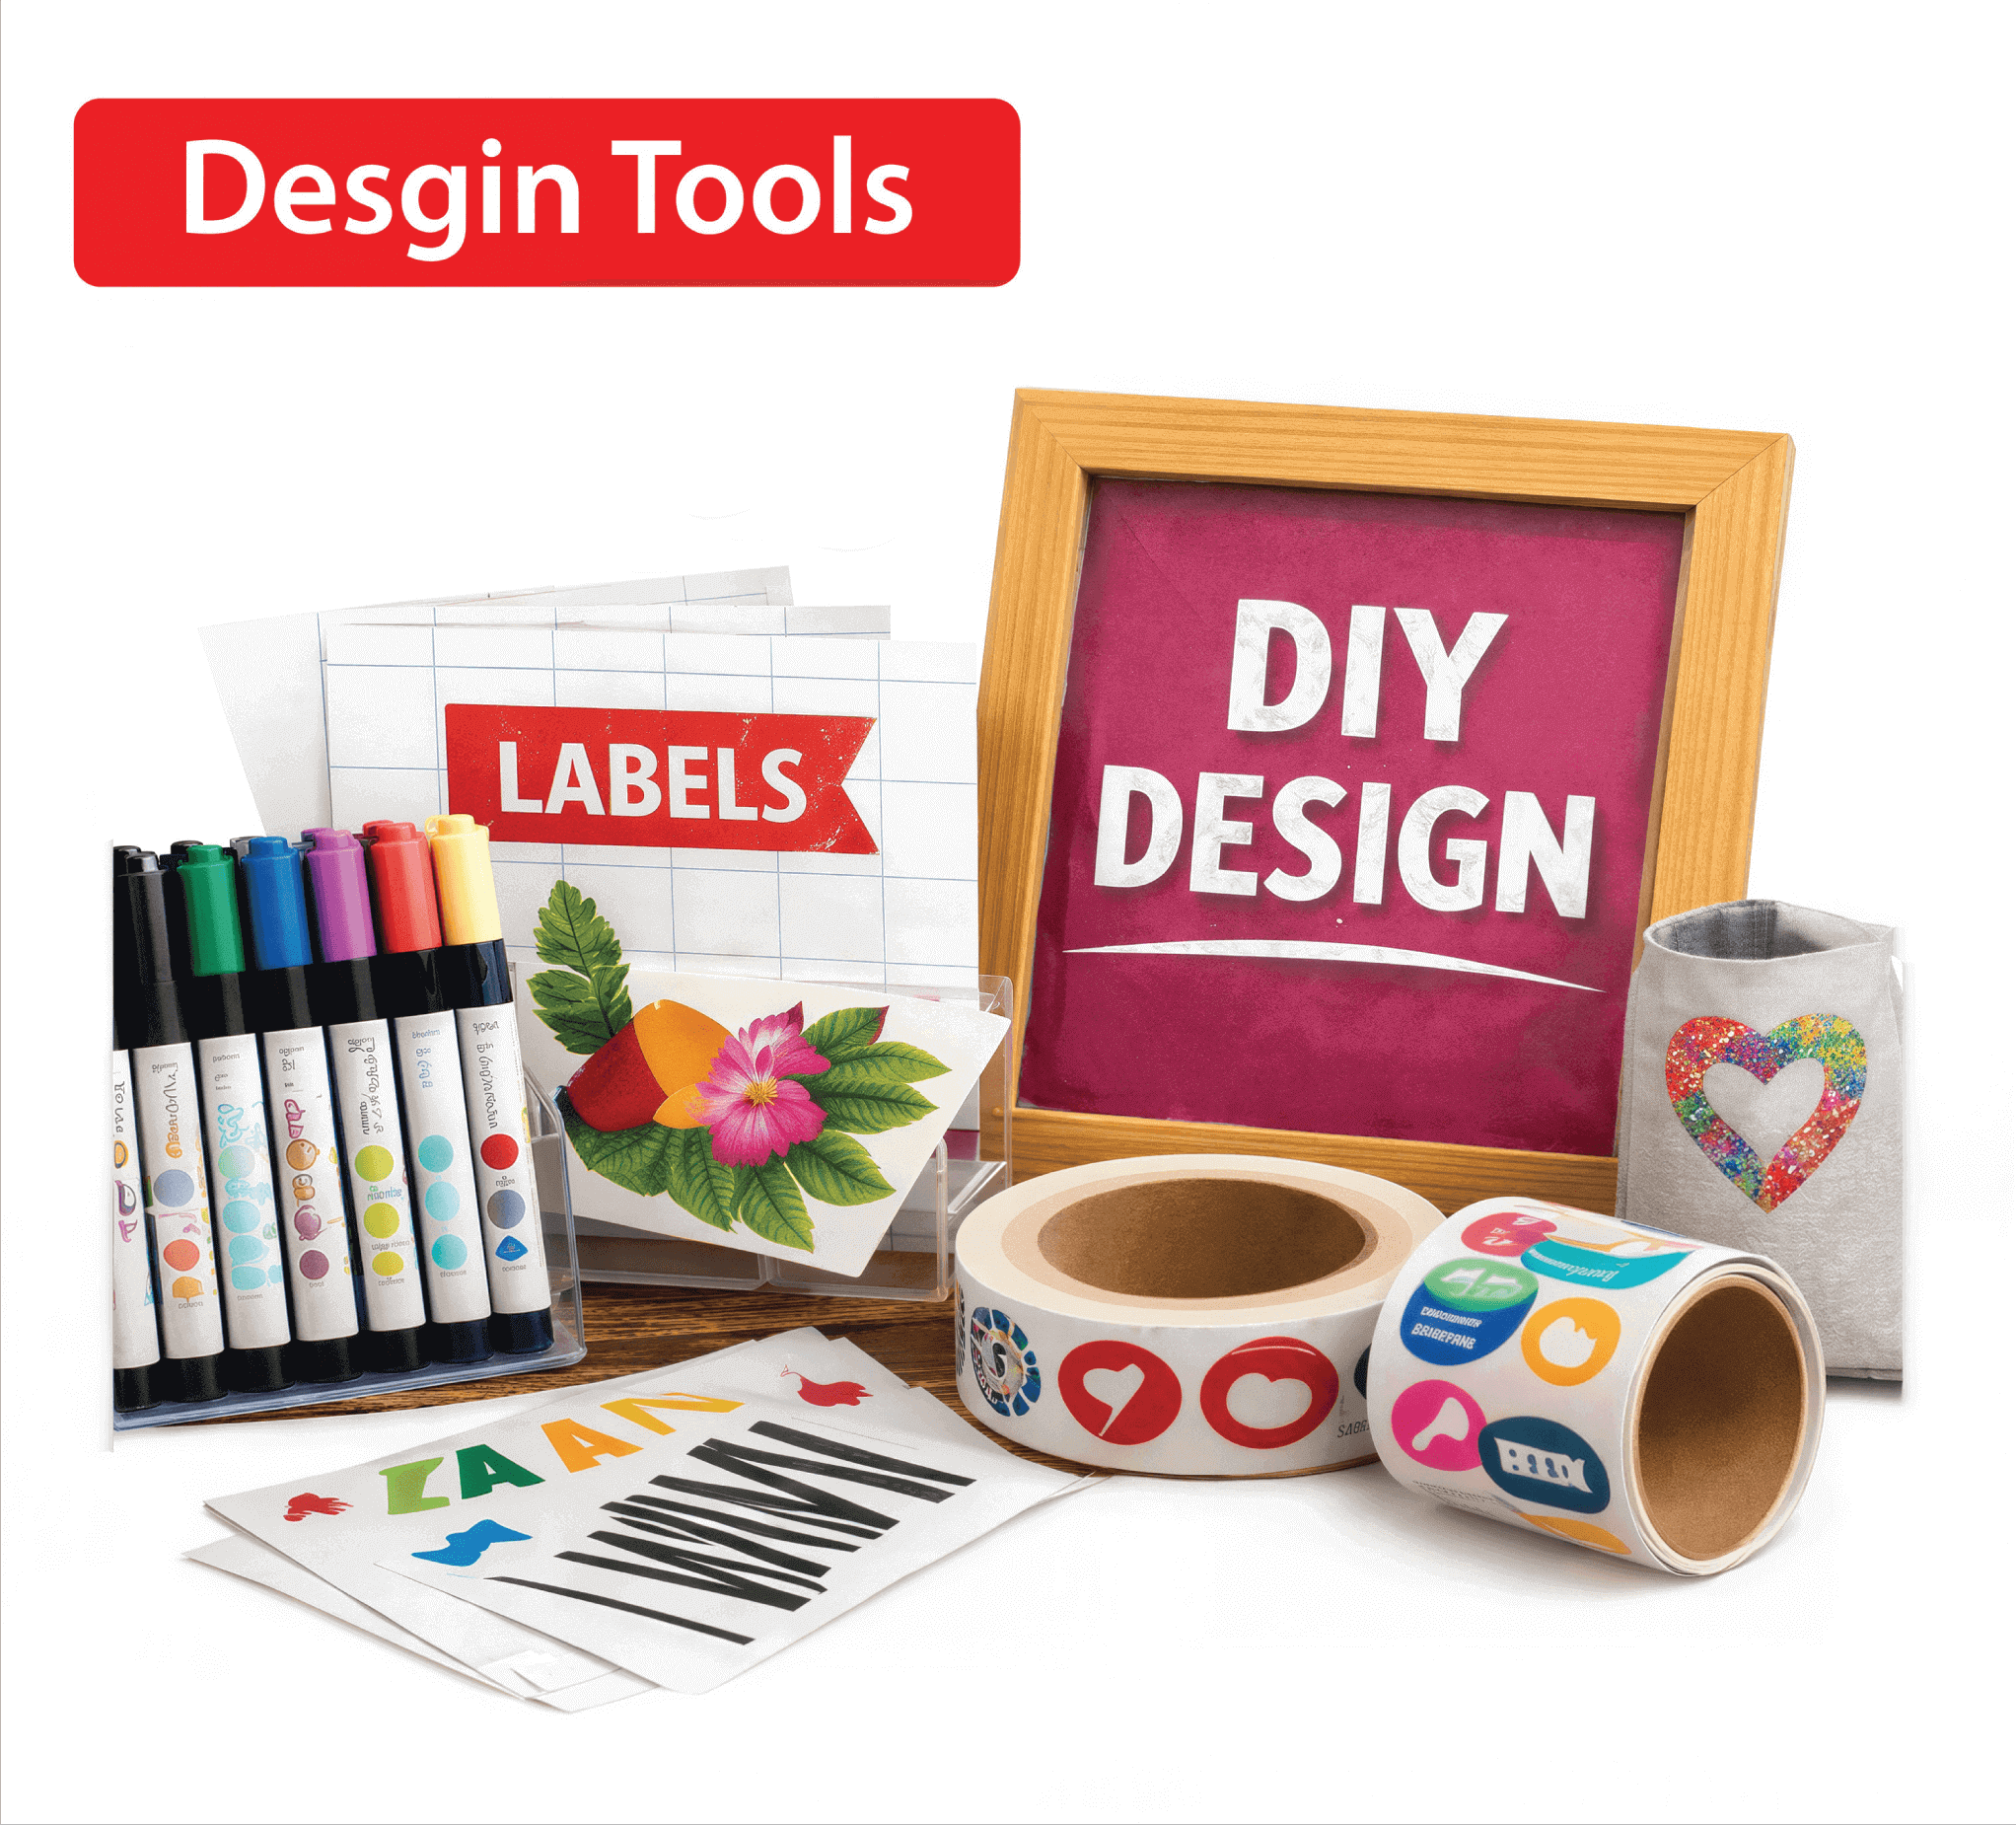
Designing Tools:
Designing on Mylar sheets requires the right tools to achieve clean, professional results. Commonly used tools include permanent markers for drawing, adhesive vinyl cutters for precise shapes, digital design software for creating custom prints, and heat transfer tools for applying designs. For a more advanced finish, silk-screening kits can also be used to produce high-quality prints. Along with these tools, you can also add stickers, labels, and custom-printed films further enhances the final design.
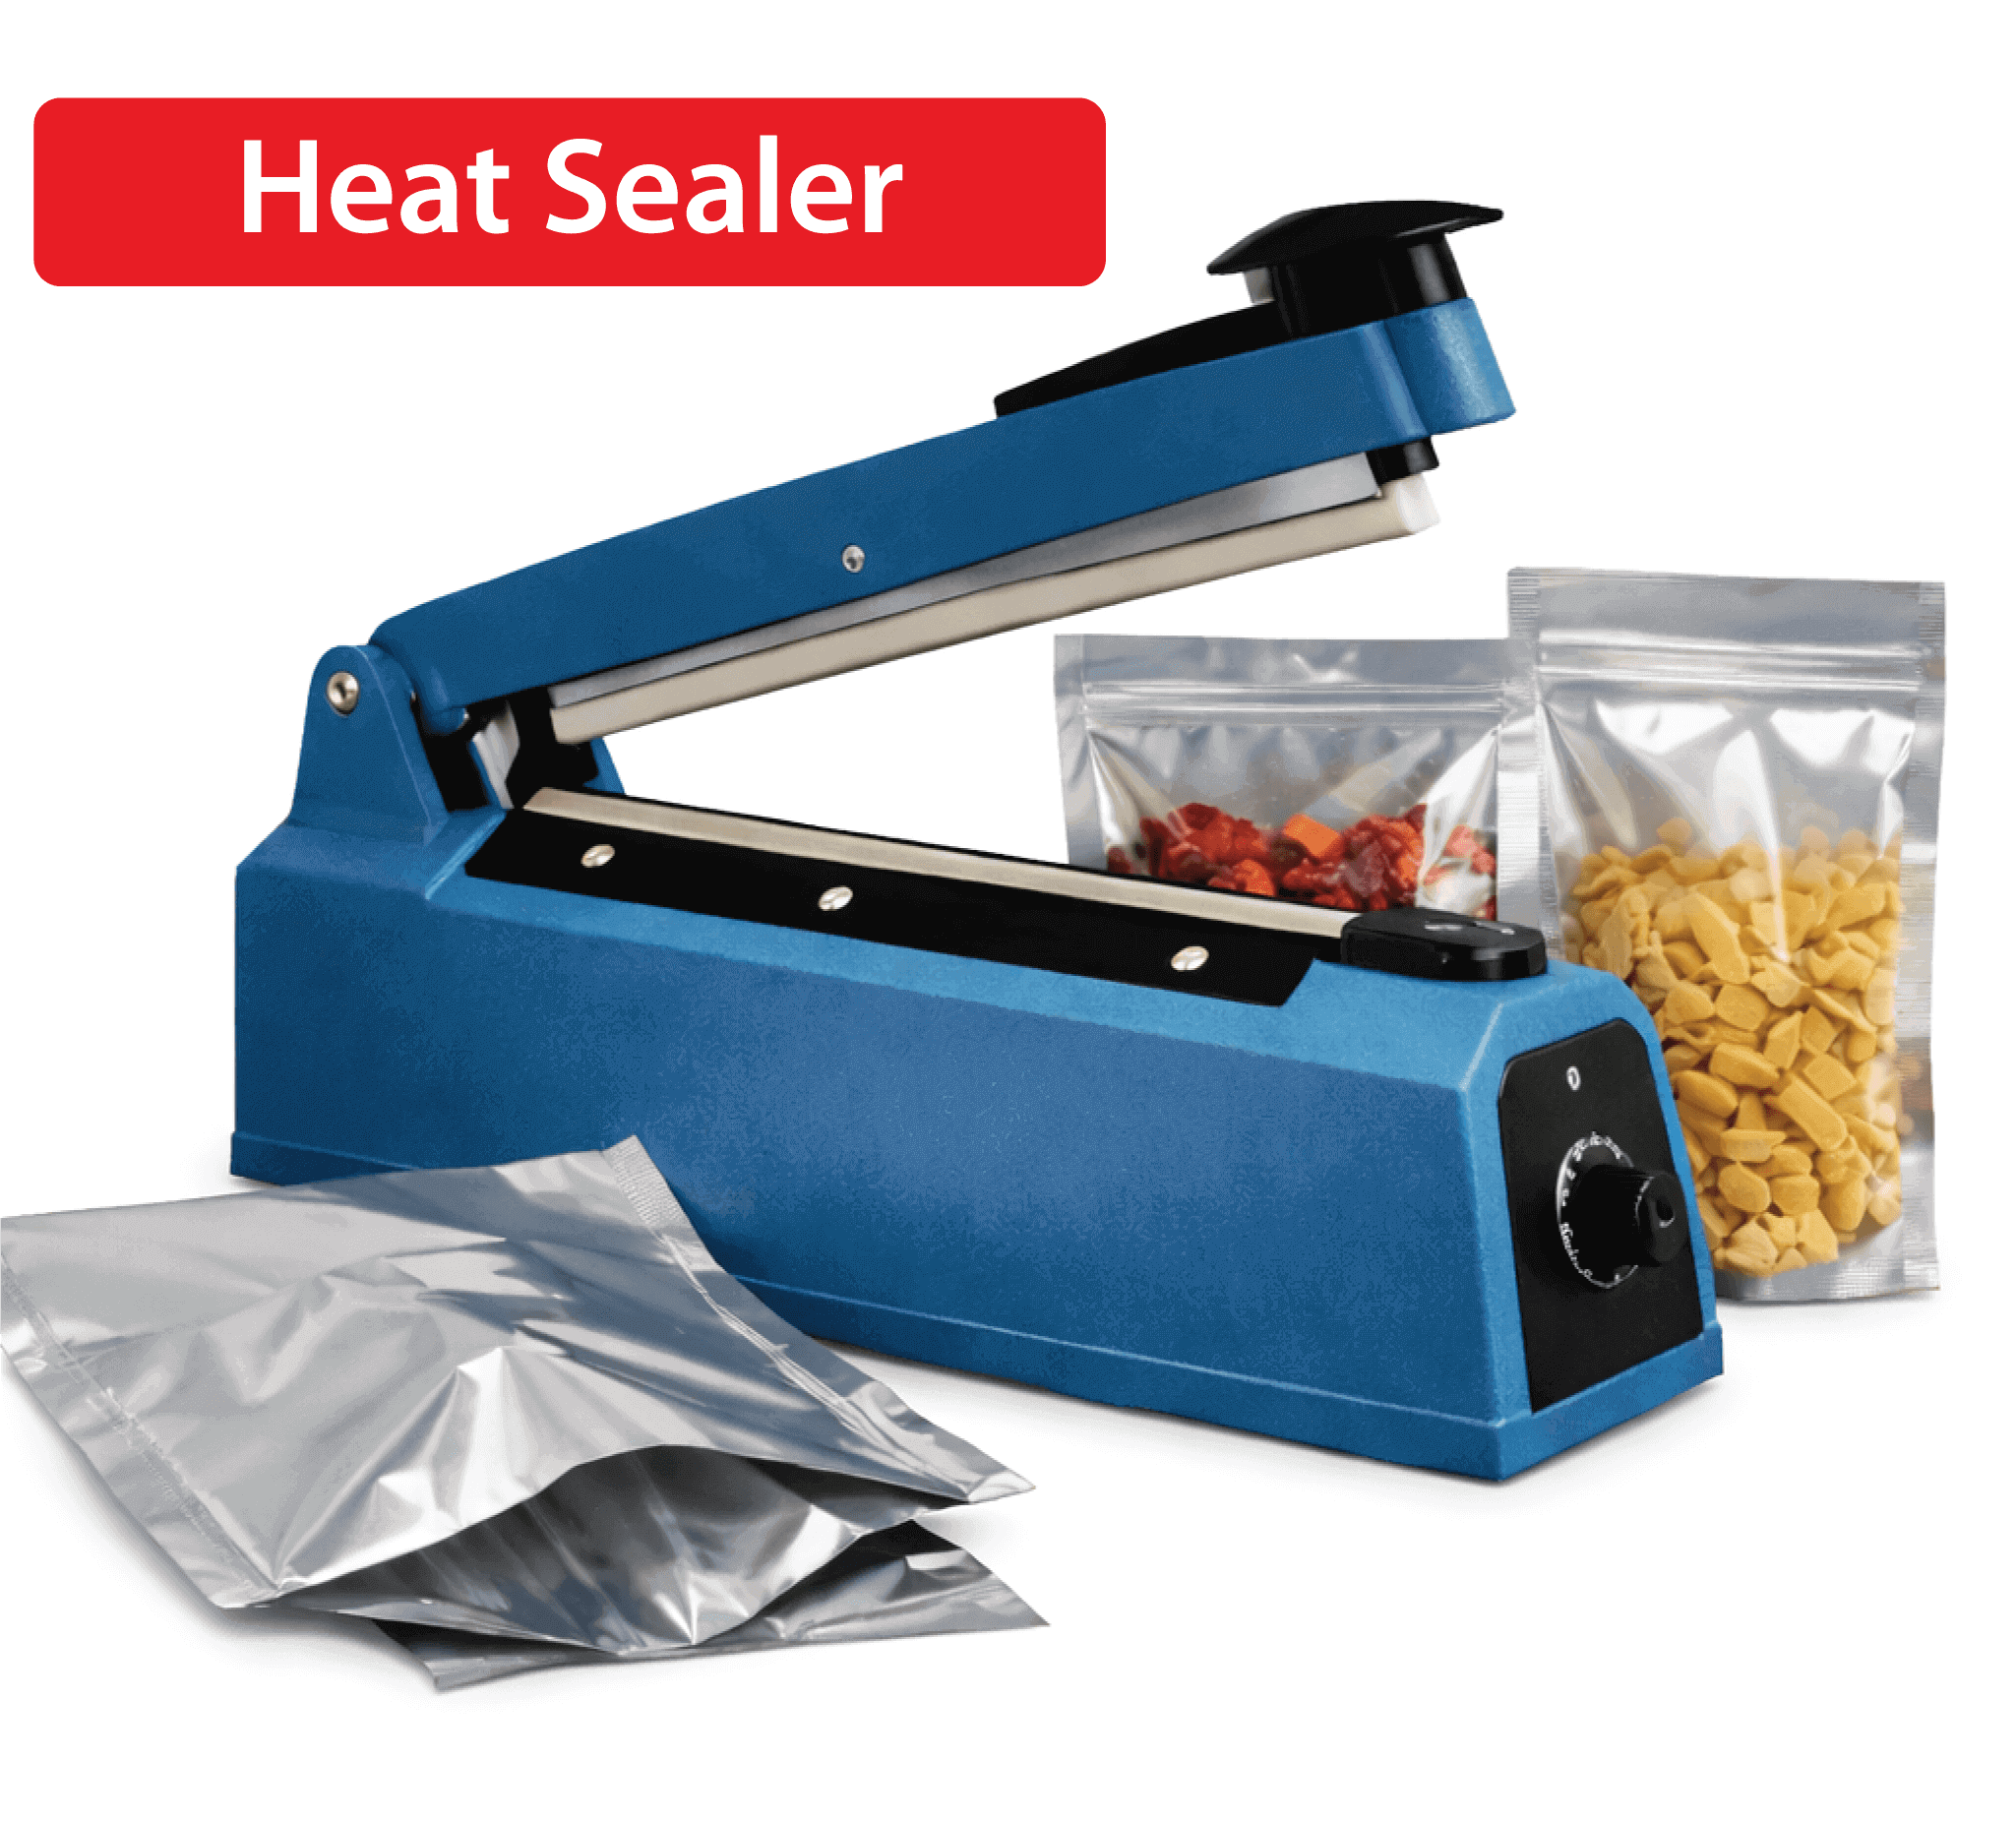
Heat Sealer For Secure Sealing:
Using the right heat level prevents burning and ensures a tight, secure seal. By applying heat to the edges of the bag, a strong, airtight closure is formed that helps preserve product freshness. For applications that require high-temperature processing, retort packaging is an advanced solution. Retort Packaging offers excellent barrier protection and superior heat stability, making it ideal for products.
Now that you have the basics down, you’re ready to get started. But before you start cutting and sealing, let’s talk about the perfect size and thickness of a custom branding packaging bag.
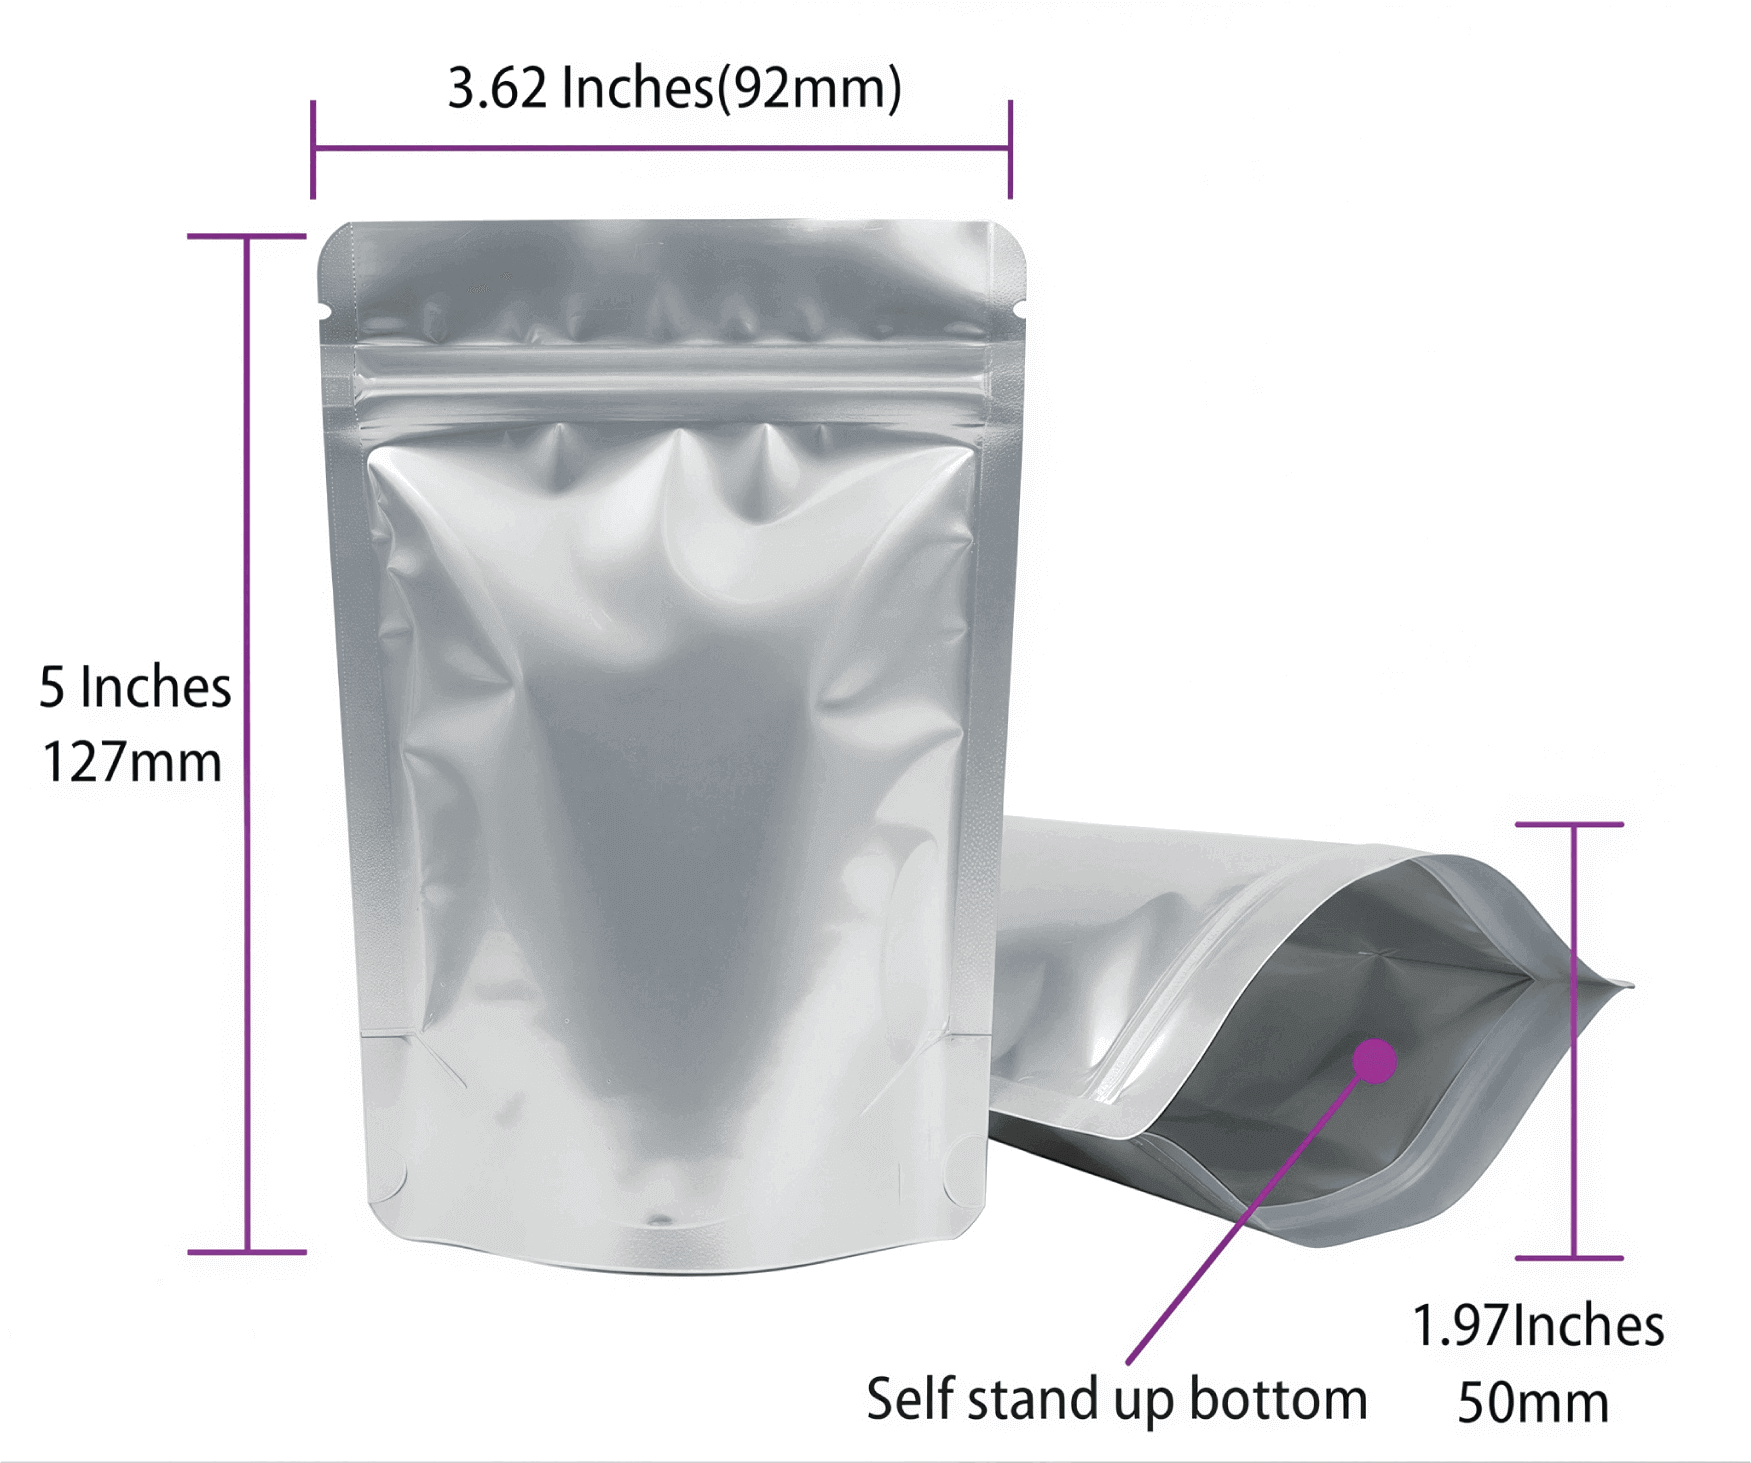
Selecting The Correct Mylar Bag Size And Thickness
You might be thinking, “Is there really a difference between all the sizes and thicknesses of mylar bags?” Definitely, and getting it right can make all the difference in how your bag turns out. Minimum size of the mylar bags usually starts from 2 x 3 inches to any custom dimension. Flexible Pouches come in various sizes, depending on volume requirement and usage.
Get the Size Right, Get the Results Right
The custom size Mylar bags depend on what you plan to store. For small batches of snacks and herbs, you’ll want a small bag (around 4-6 inches). If you’re packaging larger items like bulk foods, and bigger bags (10-12 inches). Selecting the right size for your packaging ensures storage. As for liquid, multiple sizes of spout bags are doable that are designed to meet your specific requirements. Well, Custom Spout Pouches are designed for easy pouring, that seems a perfect fit for liquids.
Choosing the Right Mylar Thickness
Mylar bags come in various thicknesses, measured in mils. Here’s a quick breakdown:
- 3-4 mil thickness: Great for general use, like snacks and food.
- 5-6 mil thickness: Perfect for products that are weighted and when extra durability is required.
- 7-9 mil thickness: Super strong! Use this for extreme weight packaging or products that need a lot of protection.
These thicknesses can balance the size and thickness based on the content and how durable you want your final product to be. It’s all about getting the right fit for your needs! Different types of bags are included, such as zippered Mylar bags, resealable Mylar bags, and biodegradable Mylar bags. Well, a nature-friendly kraft material is considered the best option for eco-conscious buyers that come in different thickness options to suit various packaging needs. These Eco Friendly Pouches are designed for a sustainable storage solution for everyday needs, ensure the perfect thickness.
Why Shape Matters In Packaging
While exploring how to make your own custom mylar bags, the shape plays a big role in in achieving the best results as they offer extra space, better support, and a style of packaging. The right shape can maximize storage space while protecting your items. Custom Gusseted Bags have the feature of being easily standing due to their gusset sides resulted extra depth and stability.
There are different features that can be modified based on your packaging needs, ensuring better storage. Like, flat pouches are doable, that is ideal for items of small as well as single-use. On the other hand, a strong bag structure ensures a better fit for your items and more efficient stacking, like Custom Stand Up Pouches with a bottom gusset, designed with a feature of standing upright on shelves.
Preparing Your Mylar Bags For Customization
Alright, now that you have your materials and you’re comfortable with their dimensions, it’s time to prepare those pouches for the next step. Don’t miss this part; proper preparation will ensure your bags turn out looking sharp!
Here’s what you need to do:
Exact Size Cutting:
If you bought pre-cut bags, you can skip this step. If not, then use your scissors or cutter to trim your Mylar sheets into the size you need. Make sure the edges are straight for a clean, professional look.
Clean the Surface:
Well, even Mylar bags need a little maintenance before including designs. Clean off any dust and oils from your pouches using a cloth or a wipe. This step is crucial, especially if you’re using stickers or labels for design.
Make Every Package an Experience, Not Just a Product By Customization
Now for the amazing part: designing your bags! This is where you can really let your creativity shine. Whether your Mylar bags are designed for gifting or branding purposes, your goal is to ensure they stand out. So, to know the detailed explanation on customization, let’s visit How To Customize Mylar Bags within 5 minutes, providing a full guide! Furthermore, here are a few ways to improve product packaging design:
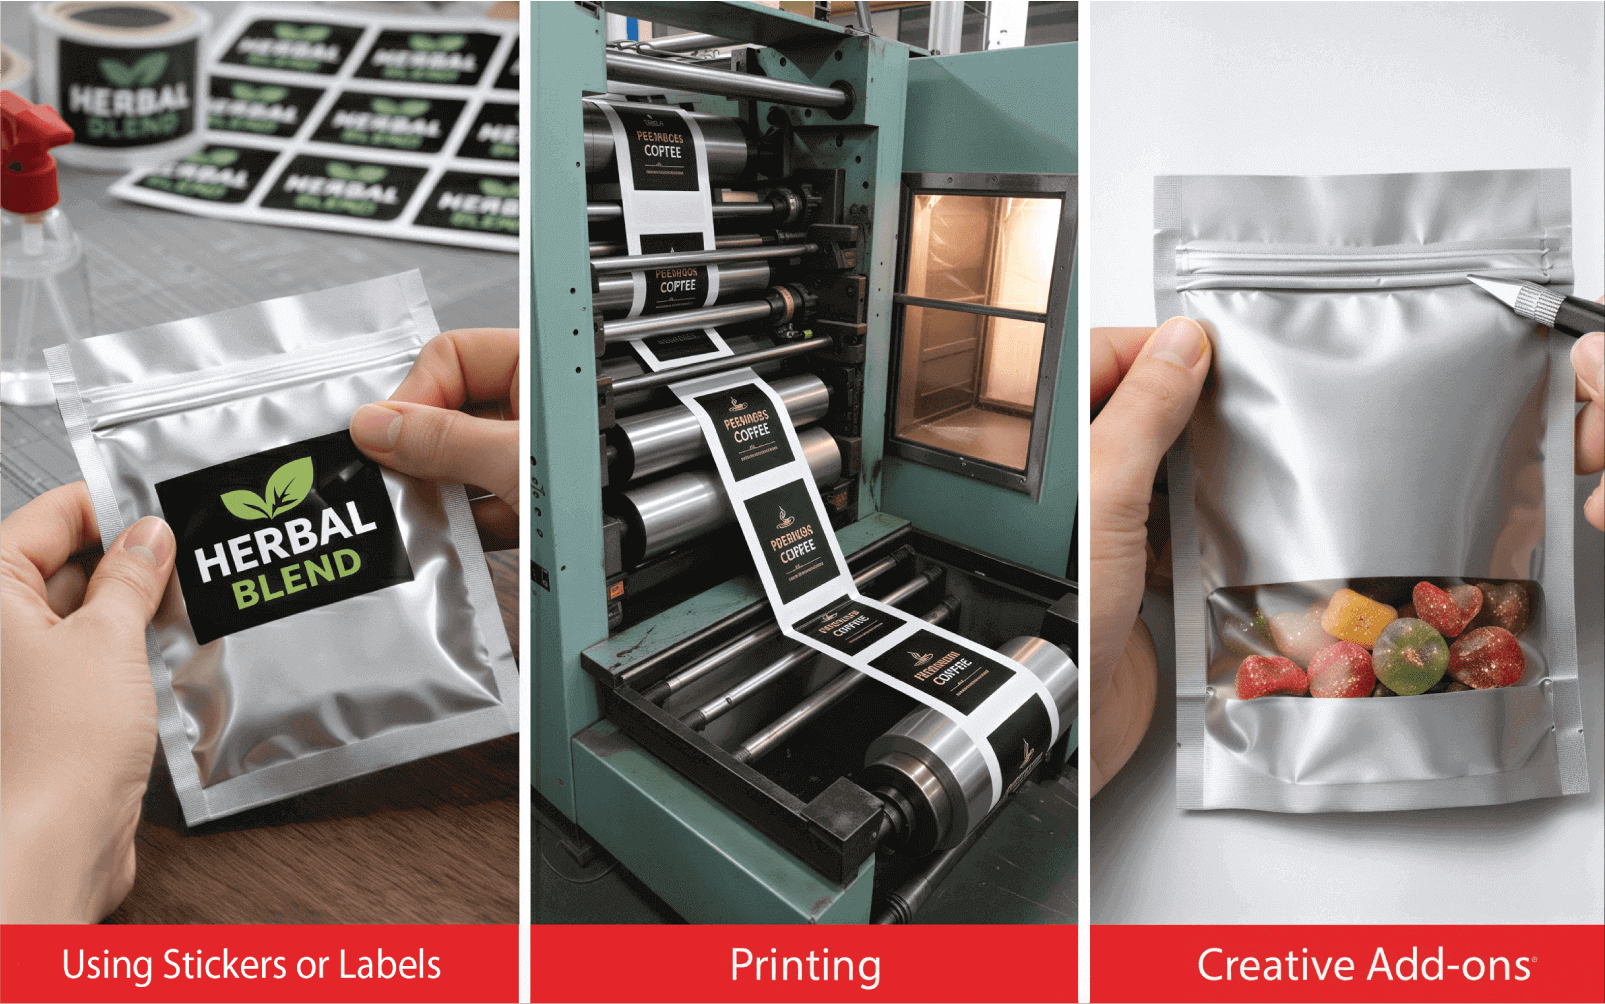
Using Stickers or Labels
Including stickers is the easiest option. Simply design your label, print it out, purchase pre-made ones, and stick it on your bag. Make sure the surface is clean and dry for smooth application.
Printing Directly on Mylar
If you want a more permanent solution, a sleek and professional look is achieved by the mylar bag printing process. You can use an inkjet printer or a laser printer with printable Mylar sheets. The visual effects include a premium touch, while show your product stands out in a competitive market.
Creative Features
Make your pouches even more creative by add features like windows in your Mylar bags to show the content, and tear notches for easy opening. You can find them in many templates and add cuts yourself by using a craft knife. Moreover, include features like a zipper that plays a role in making your simple mylar bags into the child resistant one. Custom Child Resistant Mylar Bags add an extra layer of protection with custom design options for a more amazing final product.
You can seek simple guidance by exploring how to make your own custom mylar bags to wrapping a gift. However, designing your custom bags is a perfect blend of creativity. By adding creative features, packaging is looking more attractive, as said in the following quote:
“Packaging can be theater, it can create a story.” — Steve Jobs
Ultimate Guide To Sealing Your Mylar Bags
Now it’s time for the most important step, sealing your mylar bags! Without a proper seal, all your work will be for nothing. You want the seal to be tight, durable, and airtight. Now lets move on to the step-by-step guide for sealing mylar bags in table format to make it even easier to follow:
| Step | Action & Details |
| Prepare the Heat Sealer | Set up your heat sealer according to the instructions. Make sure it is hot enough to create a seal that is strong without melting the heat-sealed mylar bags. |
| Align the Bag | Lay your mylar bag that is filled flat on the sealing surface, leaving a little space at the top where you will seal it. |
| Seal the Bag | Close the sealer over the top of the bag, apply pressure, and hold for a few seconds to create a solid, airtight seal. Repeat on the other side if needed. |
| Test the Seal | Gently press on the sides of the bag to ensure there are no air leaks. If necessary, repeat the sealing process. |
Tamper-evident Mylar bags are doable in wholesale Mylar bags, are sealed using heat sealers to ensure product security. Custom branding packaging, including shrink-wrapped Mylar bags, that are designed to attract the presentation while adding additional feature of labels and packaging regulations. You can explore these Custom Mylar Bags to ensure modern layouts, finishes, and options of premium styling. After this, your pouches are sealed and ready for action!
The Final Touch
Once you’ve sealed your bags, you can add a few finishing touches to make them truly unique. Add Some Tags: If you’re gifting something and selling a product, a custom hang tag as well as a product label, play a role in improving the branding mylar bags. Creative Packaging: If you’re packaging food, consider adding a personalized sticker and a note to the outside for that extra touch. Designers allow Innovative packaging designs to be created, customized, and visualize packaging layouts.
DIY Mistakes And How To Avoid Them
While making your bags is so simple, there are a few common mistakes to be aware of:
Avoid Excessive Heat, Cause the Material to Burn
Mylar can melt if the heat sealer is too hot and held for too long. Test the heat setting before you start and adjust as necessary.
Uneven Seals, Compromise Quality and Preservation
This issue occurs when the heat sealer is not set to the correct temperature or the bag is not properly aligned. To prevent this, ensure consistent pressure and use the appropriate setting of heat for a secure and even seal.
Impact of Using Incorrect Sizes of Bag
If the bag is too small or too large for the contents, it’ll look unprofessional and leave a bit of extra space at the top for the seal.
By keeping these tips in mind, you’ll be able to avoid common mistakes and ensure your bags turn out perfect! Well, if you still face difficulty in making them, then get in touch with experts who align with your branding values!
Sustainable Packaging Options For Modern Use
A nature-friendly kraft material is considered the best option for eco-conscious buyers. Using an oxygen barrier for preserving food involves preparing a moisture resistant layer in packaging materials. Eco-conscious packaging trends highlight a more sustainable future, with recyclable packaging being promoted by using Kraft Stand Up Pouches. Moreover, eco-friendly packaging, such as FDA-approved packaging and compostable mylar bags, is becoming popular in the packaging industry trends with businesses. As the recyclability is what the buyers demanded.
“Recycling, packaging, businesses are changing all of those things because that’s what consumers want.” — Jerry Greenfield
Conclusion
Making your own bags isn’t as hard as it seems. With the right materials, a little creativity, and some careful attention to detail, you can create professional pouches. Whether you’re packaging food and items, following the right steps ensures efficient and reliable results. Well, in this article of how to make your own custom mylar bags, you’ve learned all the necessary steps to do. Great packaging starts with printing that captures attention instantly. So, let’s discover why Packaging Printing is important for businesses looking to make a forever impression. Make a smart choice by contacting experts today!
Frequently Asked Questions (FAQs)
You need Mylar film, a heat sealer, and a design template. Basic tools like a cutter and printer may also be needed for customization.
Use a high-quality heat sealer to seal the bags properly and add oxygen absorbers. Store them in a cool, dry place to ensure durability.
Sure, you can use a heat sealer and basic tools like a cutter to make Mylar bags at home. It’s possible with simple equipment for small one.
You can use graphic design software or print designs on printable Mylar sheets. Stickers or labels are also an easy option for customization.
The best way to seal the Mylar bags is by using a heat sealer and an impulse sealer, that merge the edges of the bag to ensure an airtight closure.
Mylar bags offer better protection against moisture, air, and light compared to regular plastic bags, making them ideal for preserving the quality of contents.