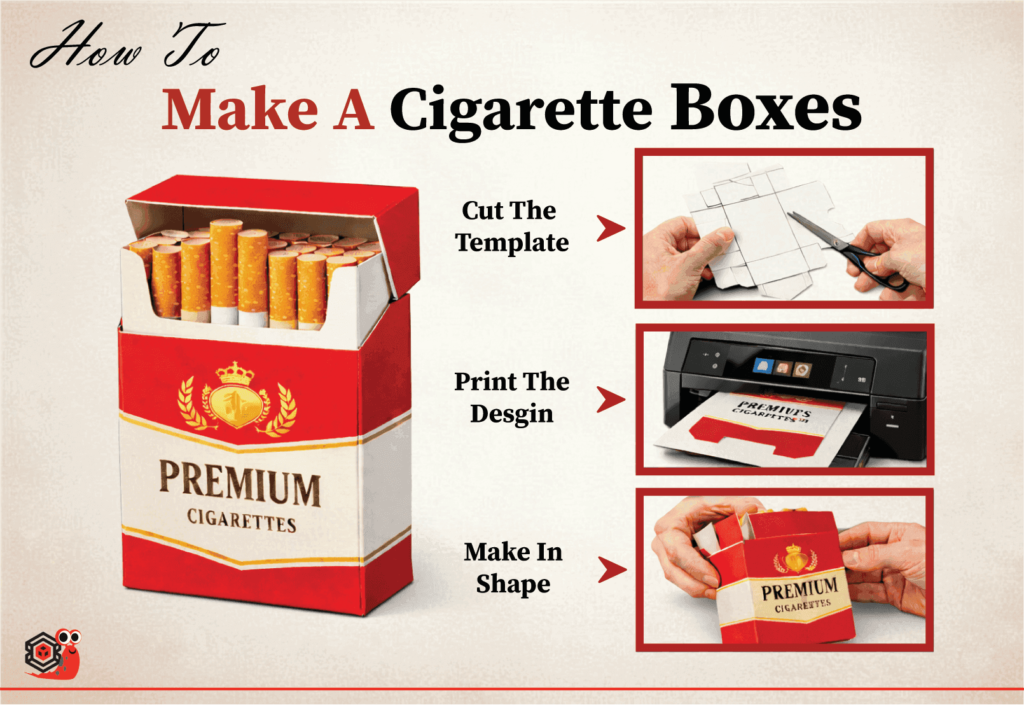
Cigarette boxes play a crucial role not just in tobacco packaging but also in branding and ensuring regulatory compliance. In this blog, you’ll discover the tools you need, folding methods, design tips, and pro tricks of how to make a cigarette box. The sooner you learn the right method, the better your results will be. So, let’s begin!
Must-Have Materials You Need For Making
Before you embark on the journey of making a cigarette box, it’s important to gather all the necessary materials. The right supplies will ensure your box comes out looking professional and durable. In this article, we’ll show you how to make a cigarette box from scratch using simple materials. Here’s a complete list of everything you need to get started:
Cardboard or Paperboard
The primary material for your cigarette box is cardboard or paperboard. Choose lightweight cardboard packaging to support the cigarettes while ensuring easy folding. If you’re aiming for a more upscale look, opt for paperboard for a refined appearance.
Scissors or Kraftwork Knife
To achieve precise cuts and clean edges, scissors or a craft knife are essential tools. A craft knife is especially helpful for intricate cuts, allowing you to follow the template neatly and ensure a professional finish for your cigarette box.
Ruler and Measuring Tape
Accuracy is crucial when making your cigarette box. Use a ruler and measuring tape to carefully measure and mark the box. These tools will help you achieve precise folds and cuts, ensuring that the box fits together perfectly.
Printer
A printer is indispensable for printing the branding, warning labels, and any cigarette box design. Make sure to use high-quality paper for printing to ensure your designs come out sharp and vibrant, improving the overall look of the cigarette box.
Glue or Double-Sided Tape
To assemble the cigarette box, you’ll need glue or strong double-sided tape. Both tobacco industry packaging options will securely hold the edges in place. Double-sided tape is ideal for a clean, quick assembly, while glue offers more flexibility for adjustments during the process.
Having these materials ready before you start will make the process go smoothly. Now, let’s move on to the next exciting step!
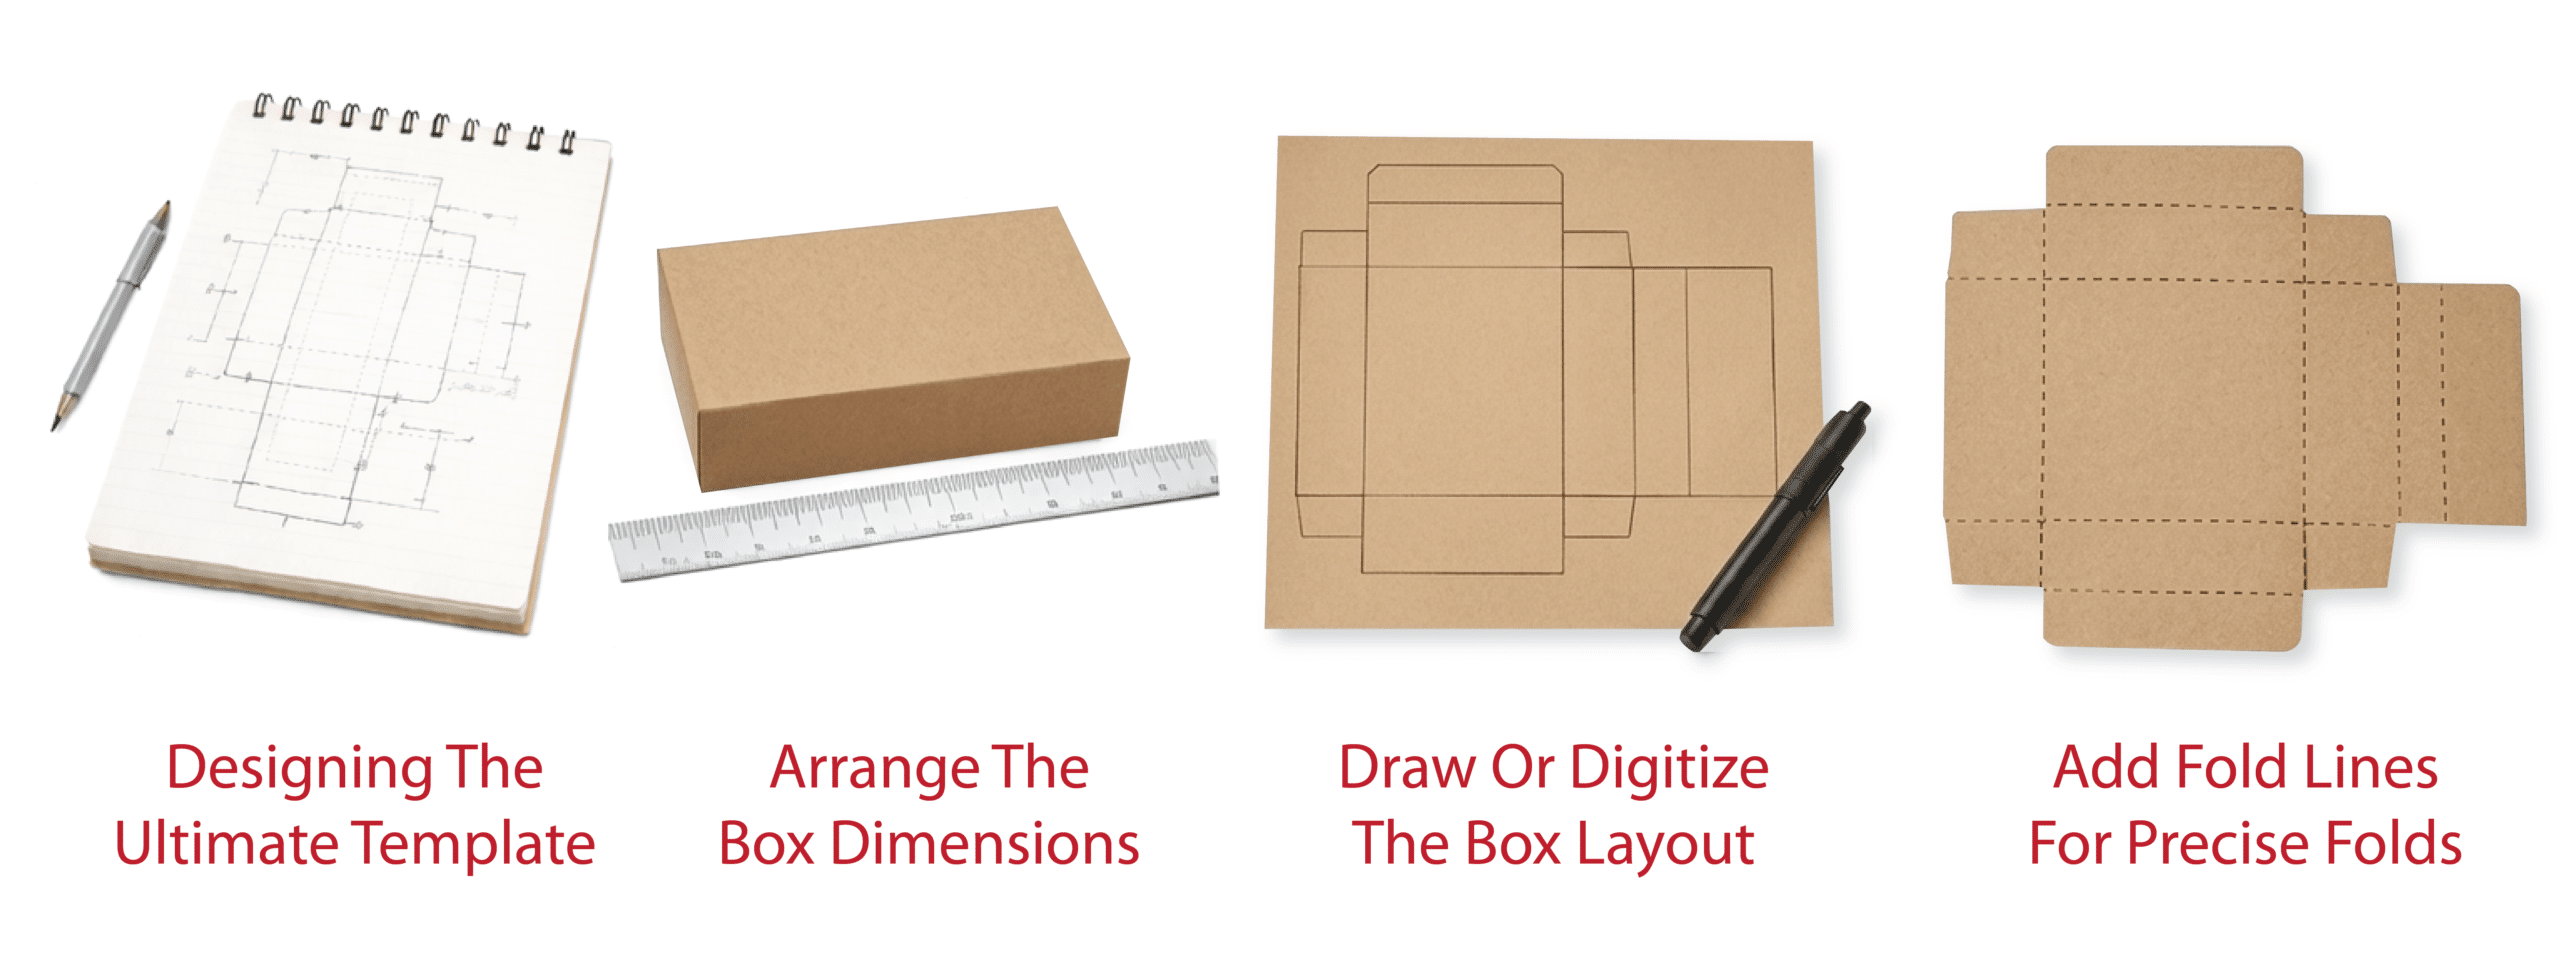
Designing The Ultimate Template
The next step is to packaging design the template for your cigarette box packaging solutions, that acts as the structure that you’ll fold into the final product. This is a crucial phase because it determines the fit, aesthetics, and overall appeal of the box. Here’s how to create a solid design:
Arrange The Box Dimensions
Typically, a cigarette box manufacturing is about 3.5 inches tall, 2.5 inches wide, and 1 inch deep, but you can adjust these measurements to suit your needs or design consumer preferences.
Draw or Digitize the Box Layout
Whether you’re sketching by hand or using design software, you need to create a flat, unfolded layout of your box. This means drawing out the rectangle, adding the sides, and designing the flaps that fold over to seal the box. Make sure each part aligns properly when folded.
Add Fold Lines for Precise Folds
You’ll need fold lines to guide where the box will bend. These lines should be scored or lightly marked so the folds are crisp and even. Proper fold lines are essential for achieving a professional look.
At this stage, you should have a solid blueprint ready for box printing and cutting. The design phase is where you take your time to get it just right. Let’s dive into the full specifications and premium cigarette box features of Blank Cigarette Boxes to discover what makes them the perfect choice for your needs!
Print Eye-Catching Branding On Your Cigarette Box
Now that your template is ready, it’s time to make the cigarette box truly yours by adding branding and design elements. Printing is not only an aesthetic step but also one of compliance, especially when adding health warnings. Here’s how to do it:
-
Branding Your Cigarette Box
Your brand logo, name, and tagline are the first things people notice. Print these prominently on the front of the box. Choose a bold font that represents your brand and makes the logo stand out.
-
Incorporating Health Warning Labels
Depending on where you’re selling, health warning labels are required by law. Be sure to place these cigarette box customization labels clearly on the box, often on the back or side, to comply with regulations. Look for standard warning designs or consult local laws to ensure you’re meeting requirements.
-
Creative Design Patterns
Add decorative touches like patterns, colors, or illustrations that align with your brand image. For a premium look, you might consider embossing or foiling to give your box a more luxurious feel.
-
Ensure High-Quality Printing
Use a high-quality printer with good resolution to ensure your branding and text appear crisp and clear. Blurry logos or unreadable labels can damage the professional look of the box and even affect its legality.
Once the printing is done, double-check for any mistakes before moving on. Your branding is key to standing out in the market, so make sure everything is perfect.
“We humans have become dependent on plastic for a range of uses, from packaging to products. Reducing our use of plastic bags is an easy place to start getting our addiction under control.”
Guide To Assembling A Stunning Cigarette Box
With the printed cigarette boxes template in hand, it’s now time to assemble your cigarette box. This process involves carefully cutting, folding, and gluing the parts together. Here’s a detailed step-by-step guide:
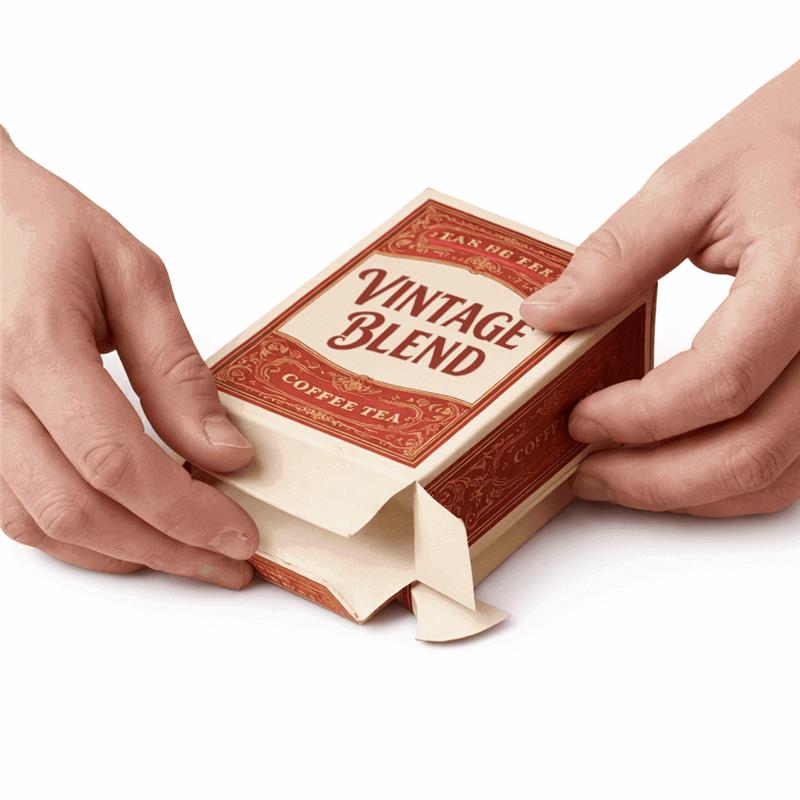
Fold the Box into Shape
Begin folding the template into the shape of a box, starting with the sides. Then fold in the bottom and top flaps. If using paperboard, a bone folder will give you crisp, neat folds for a sharp, clean look.
“Sometimes life gives us lessons sent in ridiculous packaging.”
Glue the Edges
Apply glue or double-sided tape to the edges after folding the box into shape. Press the edges firmly to ensure they stay in place. Make sure the box is square, and check that the lid fits correctly for a perfect final product.

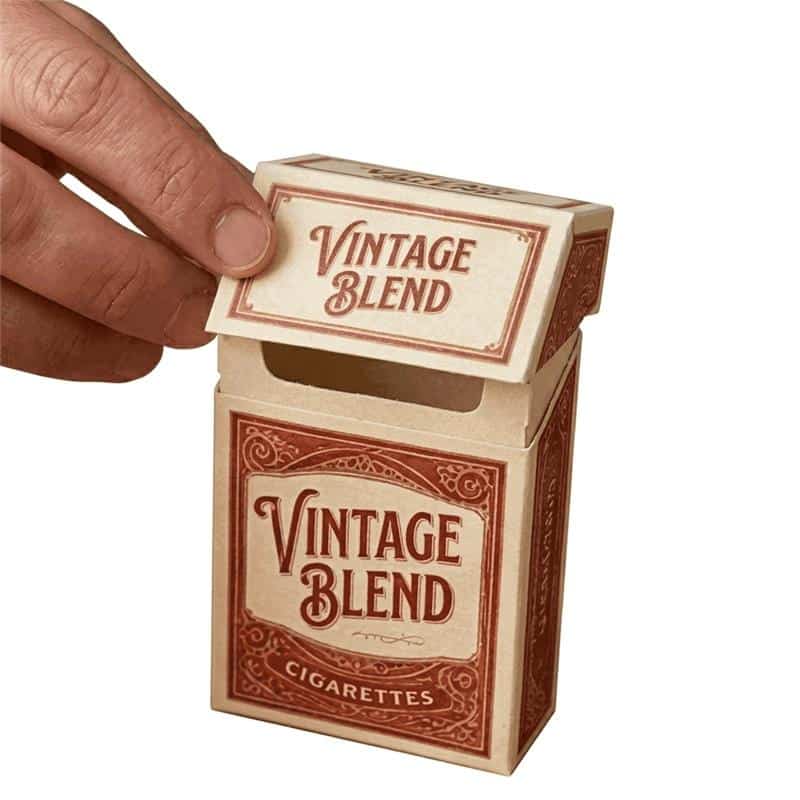
Attach the Lid
The lid can be a tuck flap or a separate piece that fits over the top. Ensure that the lid opens and closes smoothly while staying securely in place. A well-attached lid will give your box a finished, professional appearance.
At this point, you’ll have a fully assembled cigarette box ready for the next stage. So, contact experts today and get professional guidance on how to make a cigarette box that stands out!
Touches For Perfect Cigarette Packaging
Once your cigarette box is assembled, it’s time for the final touches that will make it look professional. If you’ve got a few more minutes, let me show you how to make a cigarette box amazing. This is where you ensure the box is ready for packaging:
Check the Stability:
Make sure the box is firm and holds its shape well. If it feels flimsy, you can add extra layers of cardboard or reinforce weak spots.
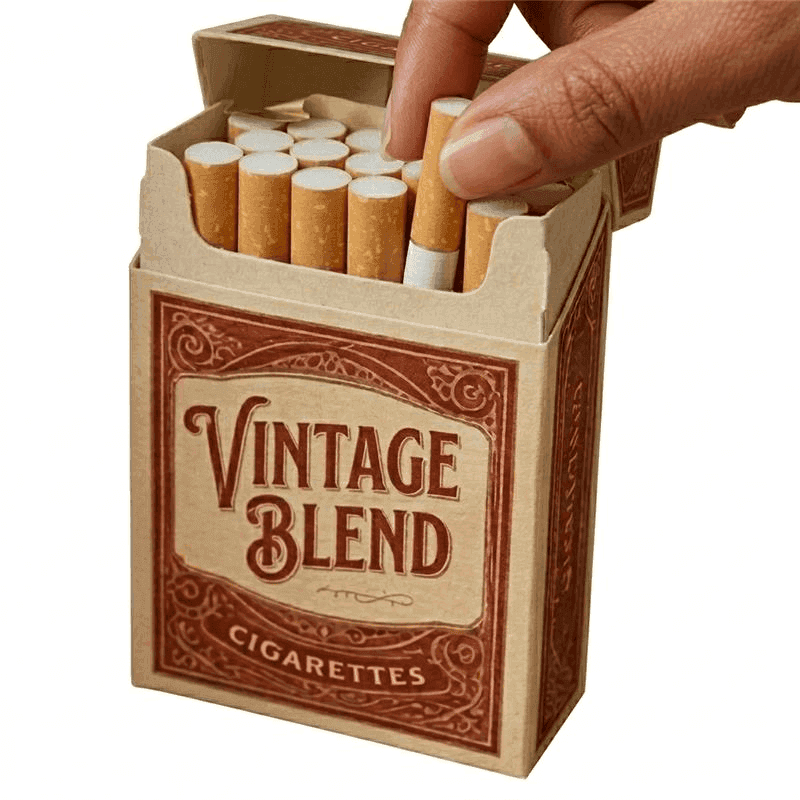
Add Inserts:
If the box is for actual cigarettes, you may want to add an insert inside to hold the cigarettes securely. This could be a simple divider or a soft foam padding.
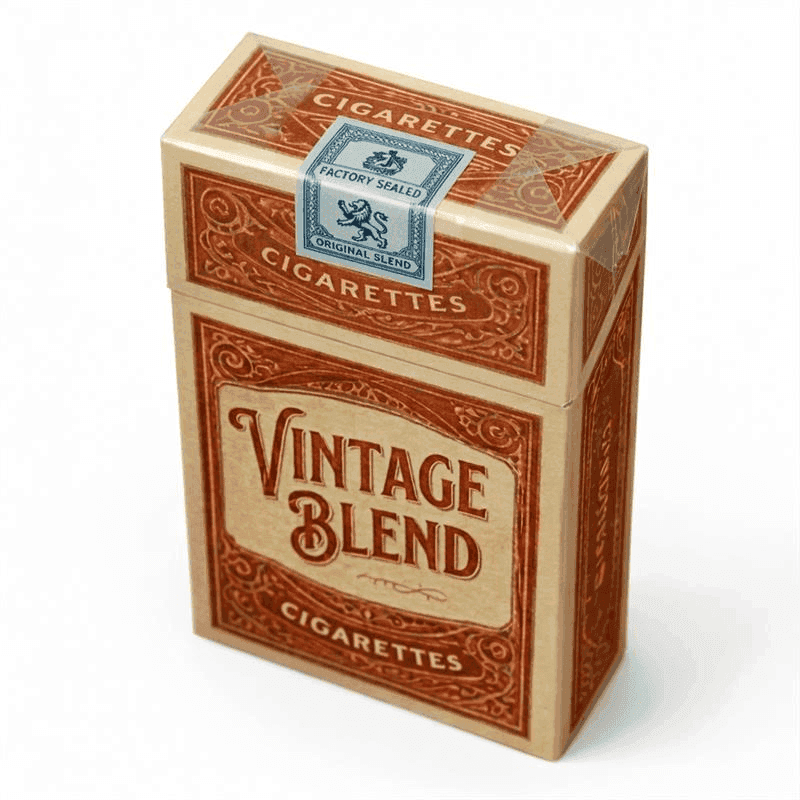
Seal the Box:
To give your box a premium feel, you can shrink-wrap it or add a protective sleeve to keep it clean and intact.
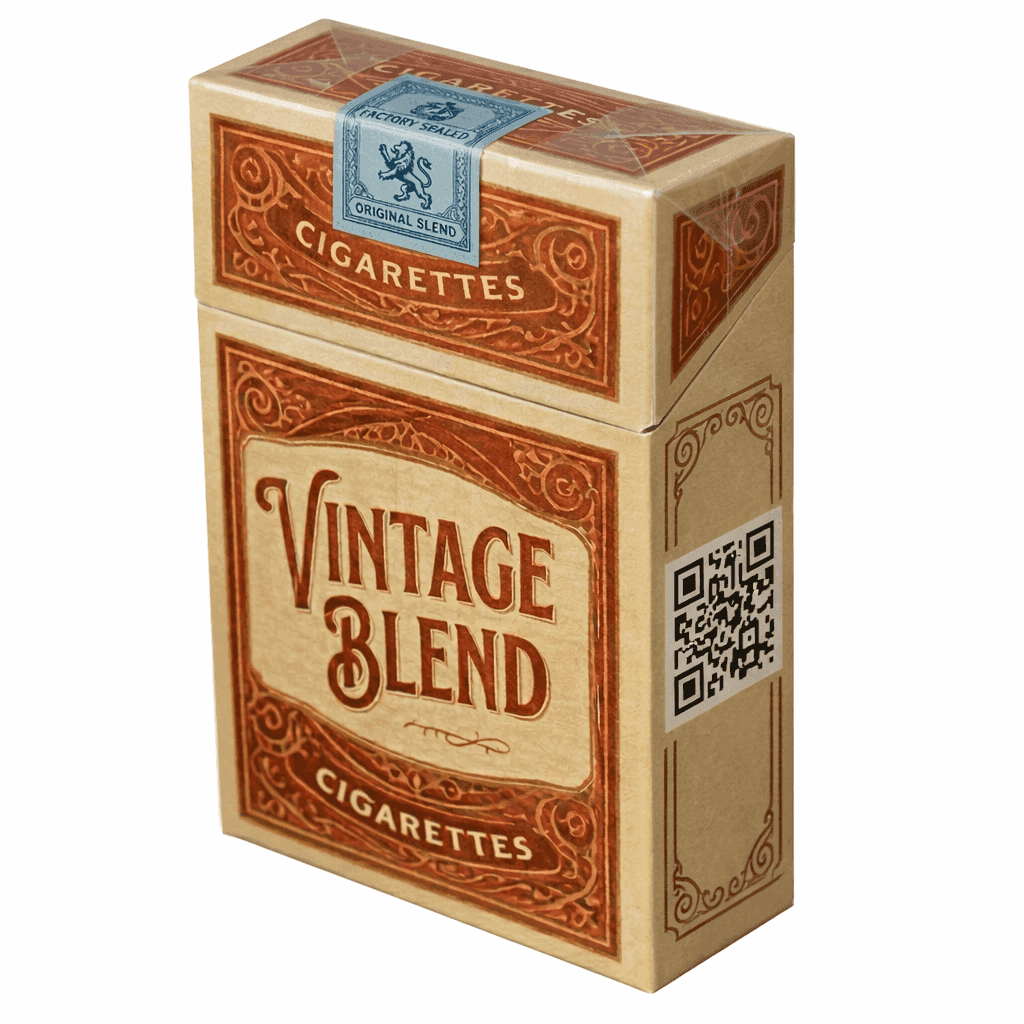
Adding a Barcode or QR Code:
For business purposes, you might want to include a barcode or QR code for easy scanning and tracking. This can be placed discreetly on the back or side of the box.
With these final steps, your cigarette box is ready for use! Whether it’s for a brand or a personal project, these finishing touches will give it a professional look. Discover the incredible services at Printing Shell that can boost your custom cigarette box packaging to the next level!
Key Mistakes To Avoid
When making a cigarette box, there are a few key things to avoid:
| Things to Avoid | Why to Avoid |
| Using Low-Quality Materials | Cheap materials can compromise packaging durability and appearance. |
| Overcomplicating the Design | Complex designs may reduce functionality and visual appeal. |
| Ignoring Branding Guidelines | Deviating from brand guidelines can harm consistency and professionalism. |
| Skipping Measurements | Incorrect measurements result in poorly fitting custom cigarette boxes. |
| Neglecting Printing Quality | Low-resolution prints lead to blurry, unprofessional designs. |
| Not Considering Functionality | Sacrificing usability can make the box difficult to handle. |
Avoiding these common mistakes will help you create a cigarette box material quality and attractive cigarette box.
Conclusion
Making a cigarette box is an opportunity to get creative with design while also ensuring compliance with legal requirements. From gathering the right cigarette box materials to assembling the box and adding your unique branding, each step plays an important role in the final packaging. Whether you’re a designer looking to create Packaging Printing or just experimenting with DIY projects, we hope this guide has helped you understand the process. So, roll up your sleeves and start crafting your perfect cigarette box today!